Arbrea Face offers an intuitive and comprehensive set of tools for facial aesthetic simulations, enabling plastic surgeons to analyze and modify facial features with precision. This guide walks you through the step-by-step process of using proportion analysis, simulation features, and the Vector Tool to enhance patient consultations and achieve realistic pre-operative planning.
Using the Options to Study the Case #
- Open Arbrea Face and select the patient’s case.
- Navigate to the case study options in the main menu.
3. Use these tools to assess facial structure, asymmetries, and proportions before making any modifications.
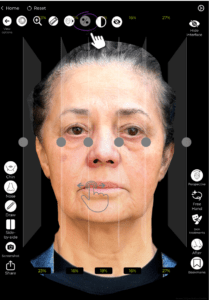
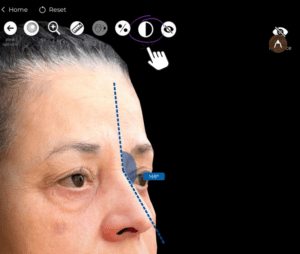
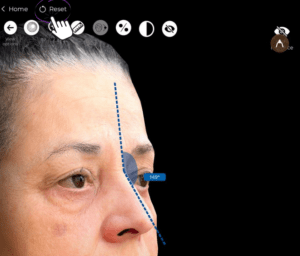
Using the Proportions Tool for Facial Symmetry #
- Click on the Proportions Tool to analyze facial balance.
- The tool highlights symmetry, golden ratio measurements, and facial angles.
- Adjust the proportions if needed before proceeding with simulations.
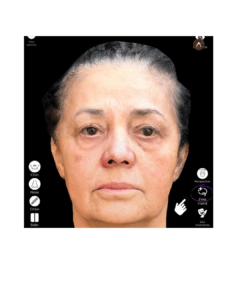
Checking the Before & After Comparison #
- Once modifications are applied, click the Before & After button.
- Toggle between the original and modified face to evaluate the changes.
- Use this comparison to discuss the expected results with the patient.
Resetting All Changes (If Needed) #
If you need to start over:
✔ Click the Reset button to revert the simulation back to the original state.
✔ This allows for new modifications without affecting the initial case study.
Using the Options to Simulate Facial Changes #
- Navigate to the Simulation Tools to begin facial modifications.
- Choose the specific area you want to enhance or adjust (e.g., cheeks, nose, jawline).
- Apply the simulation in real time to visualize the expected results.
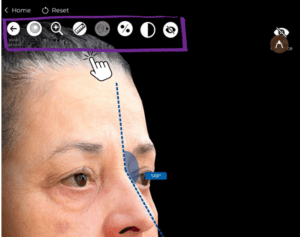
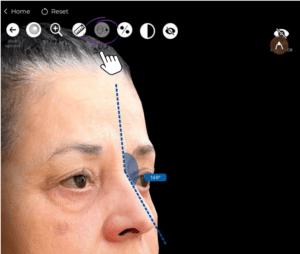
Directly Applying Changes to Specific Areas #
- Select the direct modification tool to manually adjust facial features.
- Drag or reshape specific areas using your finger or stylus.
- This allows for precision control in defining facial contours.
Defining Exactly What You Want to Modify #
- If you want to target a specific facial feature, use the custom definition tool.
- Manually outline the area to be adjusted for greater accuracy.
- Modify based on the patient’s request or surgical plan.

Simulating the Other Side of the Patient’s Face #
- If modifications are applied to one side, you can mirror them for balance.
- This helps in evaluating full facial harmony post-surgery.
Understanding Arbrea Face for Better Consultation Workflow #
- Explore all the features available to optimize your workflow.
- Familiarize yourself with the fast and easy simulation process.
- Experiment with different scenarios to improve patient engagement.
Using the Vector Tool for Enhanced Visualization #
- The Vector Tool helps highlight and emphasize areas of change.
- This tool is useful for explaining volume adjustments, lifting effects, or contour changes.
- Use it to enhance communication with the patient about the proposed procedure.

Conclusion #
The tools in Arbrea Face simplify facial aesthetic simulations with proportion analysis, freehand modifications, and advanced visualization options. By utilizing simulation tools, the Vector Tool, and before-and-after comparisons, surgeons can enhance consultations and achieve precise pre-operative planning.
For more guidance, watch the full video tutorial below.