Lindapp enables patients and clinics to begin the consultation process remotely. With just a few steps, you can transfer the patient’s case from Lindapp directly into Arbrea Suite, ready for simulation and refinement. This guide walks you through the entire process.
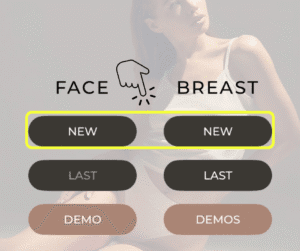
Open Lindapp and Create a New Patient #
- Launch Lindapp on your browser or device
- Click “New” if you’re entering a brand-new case
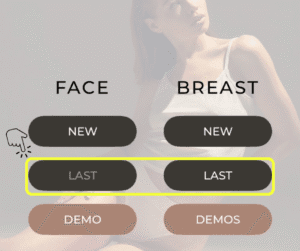
Continue an Existing Case #
- If the patient already exists, click “Last”
- Select the existing case you want to work with or update
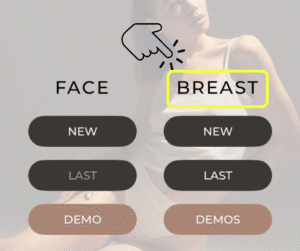
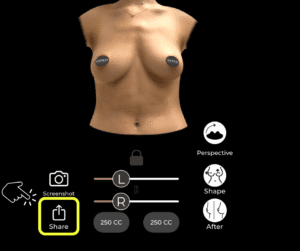
For Breast Procedures #
- Open the patient’s case under the Breast Simulation section
- If it’s a new case, upload the patient’s pictures
- Apply the desired modifications (e.g., implants, volume changes, shape adjustments)
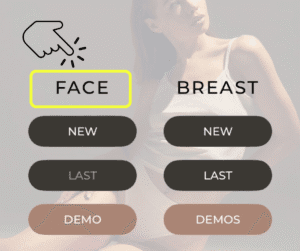
For Facial Procedures #
- Open the case and select the Face Simulation section
- If it’s a new case, upload the patient’s face photos
- Use tools to make changes as needed (e.g., facelift, rhinoplasty, skin treatments)
Share the Case to Arbrea Suite #
- Once the simulation is ready, click the share icon at the bottom of the screen
- Choose “Share to Arbrea Suite”
- The system will automatically transfer the case to your linked Arbrea Suite account
Open the Case in Arbrea Suite #
- Open Arbrea Suite on your iPad
- The shared case will be available in your patient list
- You can now continue the simulation or review it during a live consultation
Conclusion #
Transferring patient cases from Lindapp to Arbrea Suite helps streamline your workflow by allowing early-stage simulation and patient engagement—even before the in-clinic visit. Whether you’re working on breast or facial procedures, this integration makes it easier to prepare, plan, and personalize treatments ahead of time.
