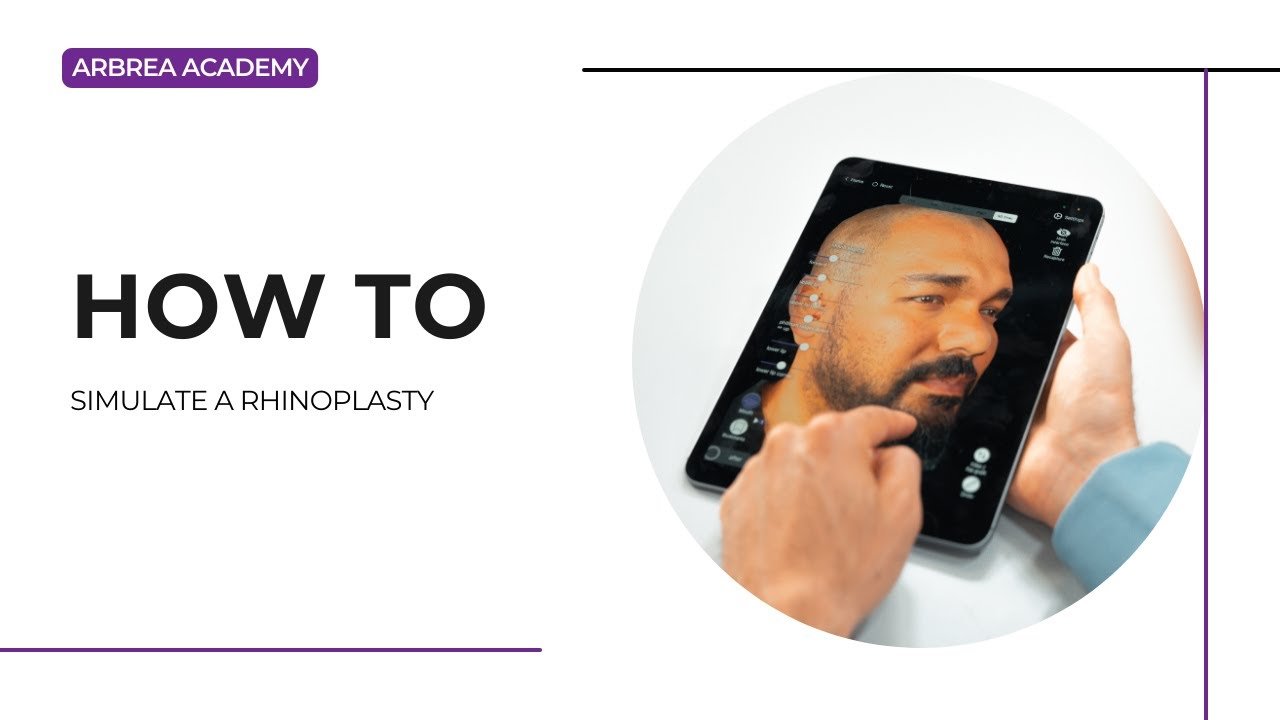
Arbrea Face offers an intuitive and comprehensive guide on how to simulate a rhinoplasty, permettant aux chirurgiens plasticiens de analyze, modify, and visualize nasal enhancements with precision. This guide walks you through the step-by-step process of using measurement tools, freehand adjustments, and before-and-after comparisons to enhance pre-operative consultations and improve patient communication..
Capturing the Patient’s Facial Scan #
- Use an iPhone or iPad with a high-quality camera.
- Ensure good natural lighting pour optimal scan accuracy.
- No need for an internet connection or an external scanner—Arbrea’s AI ensures accurate 3D modeling.
Using the Measurement and Distance Tools #
- In the top menu, select the Outil de mesure.

2. Analyze the angles and proportions of the nose.
3. Once you’ve assessed the nose, determine the best approach for the simulation.
Defining the Nose with Built-in Tools #
- In the left-side menu, select the Nose Tool.
2. Choose from predefined nose modification options to adjust nasal structure quickly.
3. If the default tools don’t provide the desired result, use freehand modifications pour greater precision.
Customizing the Nose with Freehand Modifications #
Pour more precise adjustments, utilisez le Freehand Tool, which offers two methods:
1. Using the Brush Tool for Smooth Modifications #
- Sélectionnez Freehand Tool and choose Mode Pinceau.
2. Adjust the taille du pinceau:
-
- A larger brush smoothens broad areas.
- A smaller brush fournit detailed modifications (e.g., nostrils, tip).
3. Use your finger to sculpt the nose:
-
- Raise or lower the nasal tip.
- Refine the nasal dorsum (bridge).
- Narrow or adjust the nostrils.
2. Using the Select Area Mode for Targeted Adjustments #
- Select Mode Zone in the Freehand Tool.
- Draw directly on the area you want to modify.
- Ajuster asymmetrically if needed, repeating the process on both sides.
- Combine this with the brush tool for finer sculpting.
If you’re not satisfied with any changes, simply use the undo button to refine the results.
Comparing the Before and After Simulation #
Cliquez sur le Bouton Avant/Après to toggle between the original and modified nose.
Révisez le improvements in contour, projection, and symmetry avec le patient.
Fournir realistic expectations by showing side-by-side comparisons.
Conclusion #
Le how to simulate a rhinoplasty dans Arbrea Face simplifie nasal analysis and modification avec precise measurement tools, customizable adjustments, and interactive before-and-after comparisons. En utilisant freehand tools, proportion analysis, and simulation refinements, les chirurgiens peuvent améliorer les consultations et obtenir une précision planification préopératoire.
Pour plus de conseils, regardez la tutoriel vidéo complet ci-dessous.





 English
  Portuguese
  Italian
  Spanish
  German
  Arabic
  French
  Korean
  Albanian
  Thai
Thai  Hindi
Hindi  Vietnamese
  Japanese