
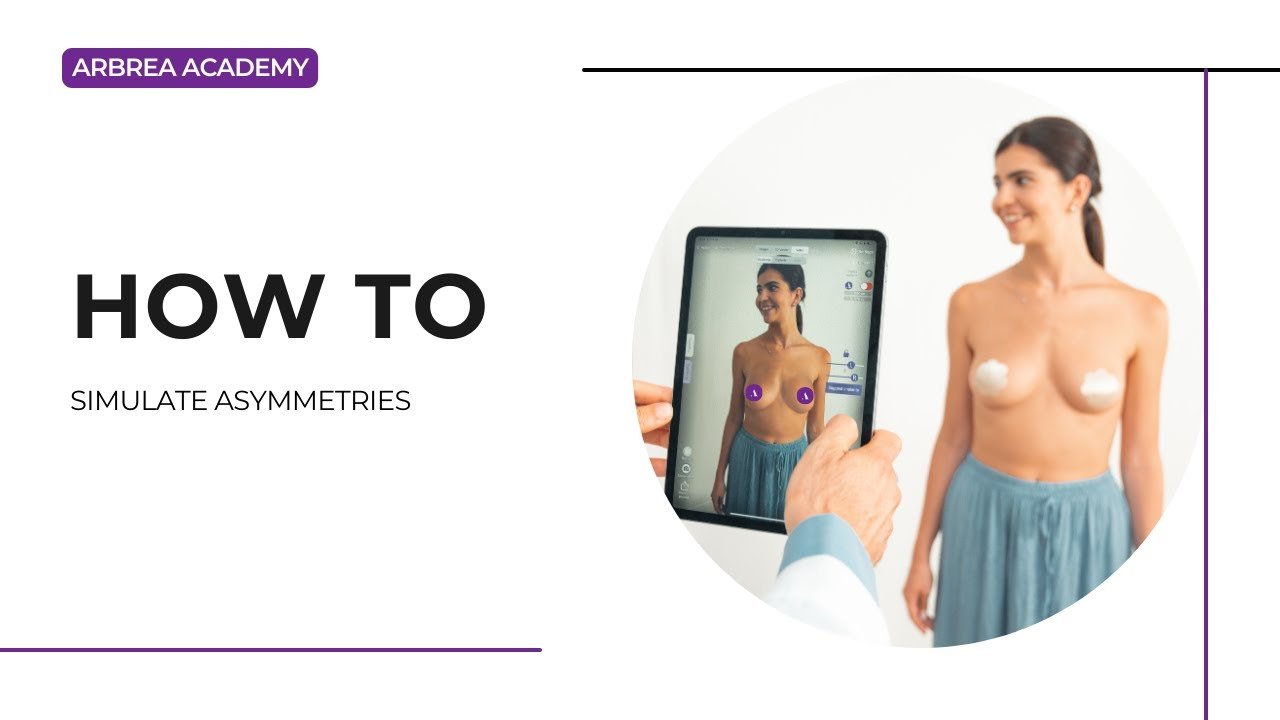
Arbrea Breast offers an intuitive and comprehensive guide on how to simulate asymmetries, enabling surgeons to accurately analyze, plan, and visualize surgical adjustments using AI-powered simulations. This guide walks you through the step-by-step process of measuring asymmetries, adjusting breast volume, selecting implants, modifying the nipple position, and visualizing surgical scars to enhance pre-operative consultations.
Selecting the Measurements #
- Ouvrir Arbrea Suite and select your patient’s image or 3D scan.
- Cliquez sur le Mesures tool to analyze breast volume differences.

3. By clicking again, you can switch between measurement mode and volume analysis to assess the asymmetry accurately.
Once measurements are visible, we can move on to adjusting the volume.
Adjusting Breast Volume for Symmetry #
How to Change from Measurements to Volume Mode #
- Activate Volume Mode by switching from measurements à volume settings.
- The software will automatically enter Mode Réduction (Step 1), which is used for:
- Volume reduction
- Mastopexy (breast lift)
- Implant replacement planning
How to Reduce the Volume of Each Breast Individually #
By default, both breasts adjust together, but asymmetry correction requires independent adjustments:
- Deactivate the Lock – This unlocks the ability to modify each breast separately.
- Reduce the right breast volume significantly.
- Reduce the left breast volume slightly to maintain symmetry.
At this stage, the initial correction of asymmetry is complete.
Choosing the Right Implant #
Once volume correction is done, we move to Étape 2, where we select implants to restore shape and projection.
How to Choose an Implant from the Catalog #
- Ouvrez le Catalogue des implants.
- Sélectionner un brand (e.g., Mentor).
- Filter options based on:
- Shape (Anatomic, Round)
- Projection (Moderate, High, Extra High)
- Choose an appropriate implant and apply it to the patient.
If the implant placement is not perfect, adjustments can be made using the Outil Forme.
Adjusting Implant Position and Lift #
Once the implant is applied, we can refine its position, lift, and overall symmetry.
How to Adjust the Implant and Lift #
- Ouvrez le Outil Forme.
- Use the sliders to:
- Lift the breast for a more youthful position.
- Increase fullness in the upper pole if needed.
- Move the implant to ensure correct alignment.
After these refinements, the breast shape and symmetry are significantly improved.
Modifying the Nipples for a Natural Look #
To ensure perfect symmetry, it’s essential to reposition the Nipple-Areola Complex (NAC).
How to Adjust the Nipples #
- Ouvrez le NAC Tool (Nipple-Areola Complex Tool).
- Define the nipple size et exact target position.
- Adjust the positioning for natural alignment with the new breast shape.
This ensures that both nipples are positioned symmetrically, complementing the surgical plan.
Displaying Surgical Scars #
Arbrea Suite does not show scars directly, as scar healing varies. However, it provides scar indicators to give patients a general idea of where scars will be.
How to Show and Hide Scars #
- Ouvrez le Scars Indicator Tool to place surgical scar markers.
- Utiliser Bookmark to save the results.
- Hide the scars if necessary to present a clean simulation au patient.
Cela aide fixer des attentes réalistes while maintaining a professional and aesthetic visualization.
Presenting the Results to the Patient #
How to Hide the Tools for a Clear Patient View #
Once you’ve finalized the simulation:
Hide unnecessary tools to focus on the results.
Lend the iPad to the patient for an interactive experience.
Si nécessaire, return to the implant selection and refine the results further.
Cela garantit une smooth and engaging consultation where patients can clearly understand the before-and-after transformation.
Conclusion #
Arbrea Breast simplifie the way on how to simulate asymmetries avec precise measurement analysis, volume adjustments, and implant customization. En utilisant nipple position refinements, scar visualization, and AI-powered simulations, les chirurgiens peuvent améliorer les consultations et obtenir une précision planification préopératoire.
Pour plus de conseils, regardez la tutoriel vidéo complet ci-dessous.





 English
  Portuguese
  Italian
  Spanish
  German
  Arabic
  French
  Korean
  Albanian
  Thai
Thai  Hindi
Hindi  Vietnamese
  Japanese